
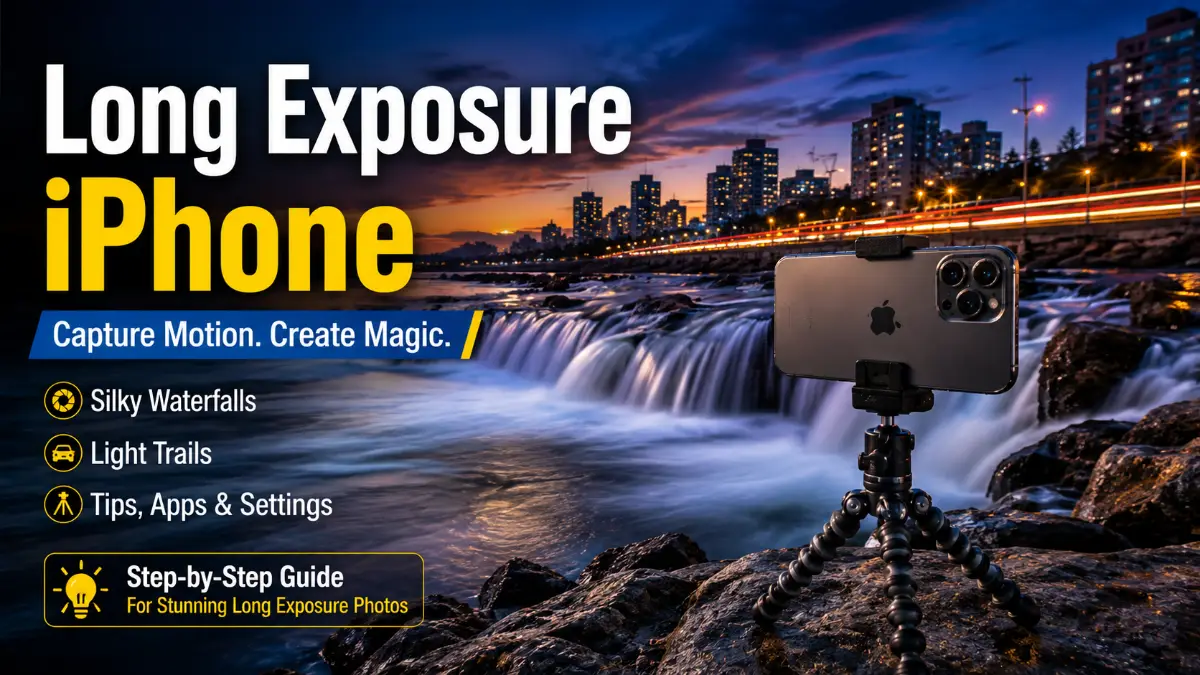
If you’re searching for long exposure iPhone techniques, you do not need a traditional camera to start experimenting with silky waterfalls, blurred crowds, moving clouds, or streaking headlights. The iPhone’s standard Camera app does not provide a conventional long-exposure shutter setting, but Apple gives you a simple alternative: shoot a Live Photo and apply the Long Exposure effect afterward in Photos. Dedicated camera apps can provide more control when the built-in method reaches its limits.
The important thing is understanding what the iPhone is actually doing. Apple’s Live Photo effect simulates a DSLR-like long exposure by combining motion recorded around the moment of capture rather than giving you a traditional bulb-mode shutter. Apple continues to provide Live, Loop, Bounce, and Long Exposure effects in the Photos app. This guide explains both approaches, when to use each one, how to stabilize your phone, which subjects work well, and how to prevent the most common failures.
Does the iPhone Have a Real Long Exposure Mode?
The standard iPhone Camera app does not include a dedicated button labeled Long Exposure or the kind of bulb mode photographers use on interchangeable-lens cameras. Instead, Apple’s easiest built-in solution begins with Live Photos. A Live Photo records movement around the moment you press the shutter. After taking it, you can open the image in Photos and choose Long Exposure from the Live Photo effects. Apple describes the result as an effect that simulates a DSLR-like long exposure. That distinction matters.
With a conventional camera, you might deliberately keep the shutter open for several seconds. With Apple’s built-in approach, the phone uses captured Live Photo information to create a similar visual treatment. This makes the feature extremely convenient, but it also means it has limitations compared with specialized long-exposure apps.
How to Take a Long Exposure iPhone Photo With Live Photos
The Live Photo method is the best place to start because it requires no additional app, subscription, or photography experience. Apple’s current instructions confirm that Live Photos can be enabled in Photo mode and that a captured Live Photo can later be changed to Long Exposure in Photos.
Follow these steps.
- Open the Camera app.
- Make sure you are using Photo mode.
- Turn Live Photo on.
- Compose your scene.
- Keep the iPhone as steady as possible.
- Press the shutter without moving the phone.
- Open the image in the Photos app.
- Tap Live near the top of the photo.
- Select Long Exposure.
- Give Photos a moment to render the result.
You can return to the Live Photo controls later and change the effect again, so applying Long Exposure does not mean you must permanently commit to that appearance.
Also Read: Osprey Farpoint 40 Review: The Ultimate Carry-On Travel Backpack Guide
Hold the Phone Still Before and After the Shutter
Stability matters more than many beginners expect. Your goal is usually to blur the moving subject while keeping buildings, rocks, bridges, signs, or the landscape sharp. If your iPhone moves during capture, stationary objects can blur too.
For the cleanest result:
- hold the phone with both hands,
- brace your elbows against your body,
- lean against a wall or railing when possible,
- place the phone on a stable surface,
- or use a tripod.
A stable frame gives the software a much cleaner foundation from which to produce the motion effect.
Best Subjects for iPhone Long Exposure Photography
Not every moving subject benefits equally from this technique. The strongest compositions normally combine something that moves with something that stays still.
Waterfalls, Rivers, and Fountains
Flowing water is one of the easiest subjects to practice on. A stable rock, bridge, tree, or riverbank gives the photograph visual structure while the water becomes smoother and softer. Small waterfalls and fountains can work particularly well with the built-in Live Photo technique because their motion is continuous.
Moving Traffic and Headlights
Traffic creates a different look. At night, moving headlights and taillights can become streaks of light when you use an app designed for longer captures or light trails.
Look for:
- curved roads,
- bridges,
- elevated viewpoints,
- intersections,
- tunnels,
- or streets with a strong stationary foreground.
Keep yourself safely away from active traffic while composing the shot.
Crowds and Moving People
Long-exposure techniques can make moving people appear blurred, translucent, or less prominent while architecture stays relatively sharp. This can be useful around landmarks and busy public spaces. Computational long-exposure apps such as Spectre specifically promote the ability to reduce or remove moving crowds by blending multiple images.
Clouds
Cloud movement can add direction and drama to landscapes. The built-in effect may produce a subtle change when clouds are moving quickly. More extended app-based capture is generally better when you want visibly stretched cloud movement.
Fireworks and Light Painting
These scenes depend on moving light rather than merely moving objects. Apps offering dedicated light-trail capture are better suited to this style than the basic Live Photo conversion. NightCap, for example, currently includes a Light Trails mode intended for subjects such as traffic, fireworks, and light painting.
Live Photo vs Long Exposure Camera Apps
The best method depends on the result you want.
| Method | Best Use | Control Level | Tripod |
| Live Photo + Photos | Water, fountains, simple motion effects | Basic | Helpful |
| Spectre Camera | Computational long exposures, crowds, water, light trails | Moderate | Helpful but not always essential |
| Slow Shutter Cam | Slow-shutter-style creative effects | More manual | Recommended for many scenes |
| NightCap Camera | Long exposure, light trails and astrophotography | Advanced | Useful, although current versions also support handheld processing |
Apple’s method is free and easy. Third-party apps become more useful when you want longer capture periods, dedicated light trails, astrophotography features, or greater creative control.
Best Apps for More Long Exposure Control
App pricing and functionality can change, so always check the current App Store listing before purchasing anything.
Spectre Camera
Specter is developed by Lux Optics, the company behind Halide. It builds long exposures computationally by blending many frames. Its current App Store listing describes features for waterfalls, moving crowds, city light trails, and other motion-based effects. The developer’s version history states that Specter supports long exposures of up to 30 seconds.
It is currently listed as free with an optional in-app Spectre Pro purchase. That makes Spectre particularly attractive when you want an approachable step up from Apple’s Live Photo effect.
Read More: C6 Corvette: Complete Guide to Specs, Generations, Prices, and Buying Tips
Slow Shutter Cam
Slow Shutter Cam focuses specifically on slow-shutter-style photography. Its current App Store listing describes it as an application for producing creative slow shutter effects on iPhone and iPad. It may suit photographers who want a dedicated interface rather than simply converting an existing Live Photo.
NightCap Camera
NightCap is oriented toward long exposure, low-light photography, light trails, and astrophotography. Its current version includes modes for star trails, meteors, stars, long exposure, light trails, and aurora time-lapse photography.
The developer also states that its newer processing can align frames for handheld long exposures, so the older advice that a tripod is always mandatory for the app is no longer accurate. For extremely demanding subjects such as star trails, however, physically stabilizing your phone remains a sensible choice.
7 Powerful Long Exposure iPhone Tips to Avoid Bad Blur
The effect itself is easy to activate. Producing a photograph that looks intentional requires more thought.
1. Stabilize the Stationary Parts of Your Scene
Before concentrating on moving water or headlights, identify what must remain sharp. A bridge, building, rock, tree, railing, or horizon can act as the visual anchor. If that anchor moves because of camera shake, the photograph tends to look like a mistake instead of an intentional long exposure.
2. Use a Timer or Remote Release
Touching the screen can introduce a small movement at the moment of capture. If your chosen camera app supports a self-timer, use it when the phone is mounted. An Apple Watch can also function as a camera remote for Apple’s Camera app on supported setups.
3. Look for Motion That Has a Clear Direction
Long exposure works best when movement contributes to the composition.
Examples include:
- water flowing diagonally through the frame,
- cars following a curved road,
- clouds moving toward a mountain,
- commuters crossing a fixed architectural scene.
Random motion can simply look messy.
4. Shoot More Than One Version
Small differences in timing can produce very different results. Take several photographs rather than trusting the first attempt. Cars may enter the frame differently, waves may change shape, and crowds may briefly create unwanted gaps.
5. Experiment Around Dusk
Dusk is especially useful for light trails and city scenes because there may still be enough ambient light to preserve buildings and sky detail while vehicle lights become visually prominent. It can be easier to balance than the middle of a bright day or a completely dark night.
6. Consider an ND Filter for Bright Conditions
A neutral-density filter reduces the amount of light reaching the camera. That can be useful when using a camera app that allows longer capture techniques during daylight. Without reducing incoming light, maintaining a long capture in very bright conditions can be difficult. An ND filter is most useful once you have moved beyond the basic Live Photo method and want greater control over daylight motion blur.
Read More: Classroom Events: A Year-Round Planning Guide for Teachers
7. Compose the Photograph Before Thinking About the Effect
A long exposure cannot rescue a weak composition.
Use the same fundamentals you would use for an ordinary photograph:
- simplify distracting backgrounds,
- keep horizons intentional,
- identify a clear subject,
- consider foreground interest,
- watch bright highlights,
- and decide where the viewer’s eye should travel.
The blur should support the image rather than become the entire reason the image exists.
Why Your Long Exposure Photo Looks Wrong
Many failed images come from a few predictable problems.
Everything Is Blurry
If rocks, buildings, signs, and other stationary objects are also soft, the iPhone probably moved during capture. Use a tripod, firm surface, timer, or steadier grip and try again.
The Effect Is Barely Visible
The subject may not have moved enough. Try faster-moving water, traffic, a busier scene, or a dedicated long-exposure app that can capture motion over a longer period.
Moving Objects Look Broken or Ghosted
Computational blending does not always create perfectly continuous motion. Irregular subjects-especially people changing direction-may produce fragments or ghosting. Try another capture when the movement is more consistent.
Long Exposure Does Not Appear in Photos
Make sure the image was actually captured as a Live Photo. Apple’s Long Exposure effect is selected from the effects available for Live Photos, so an ordinary still photograph will not provide the same built-in conversion workflow.
Light Trails Are Too Weak
The built-in Live Photo method may simply be too limited for the result you want. A dedicated application with light-trail functionality is a better choice for extended traffic trails, fireworks, light painting, or similar subjects.
When Should You Use Apple’s Free Method?
Choose the built-in long exposure iPhone workflow when:
- you are learning the technique,
- you do not want another app,
- you are photographing moving water,
- you only need a subtle motion effect,
- or you want something quick enough for casual photography.
Choose a specialized app when:
- you want stronger light trails,
- you need an extended capture,
- you are attempting star trails or astrophotography,
- you want computational crowd removal,
- or you need more creative control.
Neither approach is automatically better. They solve different photographic problems.
Frequently Asked Questions
Can an iPhone take long exposure photos?
Yes. The simplest built-in approach is to capture a Live Photo and choose Long Exposure in the Photos app. Apple describes the effect as simulating a DSLR-like long exposure. Dedicated apps provide additional options.
Where is the Long Exposure setting on the iPhone?
It is not a normal shooting mode in the Camera app. First capture a Live Photo, open it in Photos, tap the Live Photo control, and choose Long Exposure.
Do I need an app for long exposure iPhone photography?
No. You can start with Apple’s Live Photo effect without installing another app. An app becomes useful when you need longer or more specialized captures.
Do I need a tripod?
Not always, but stabilization usually improves the image. It is especially helpful when you need stationary objects to stay sharp or when using extended capture techniques.
Can an iPhone photograph light trails?
Yes. The Live Photo effect can create some motion blur, but dedicated apps with specific light-trail modes offer more control for moving headlights, fireworks, and light painting.
Can I photograph waterfalls with an iPhone?
Yes. Waterfalls are one of the easiest subjects for iPhone long exposure photography because the moving water contrasts clearly with stationary rocks and scenery.
Can I create star trails with an iPhone?
Specialized apps can support star-trail photography. NightCap currently includes a dedicated Star Trails mode along with other astrophotography options.
Why can’t I find Long Exposure on one of my photos?
The built-in effect works with Live Photos. If you captured a normal still photograph with Live Photo disabled, that effect will not appear through the same Live Photo controls.
Is Spectre still useful for iPhone long exposures?
Yes. Spectre’s current App Store listing continues to focus on computational long-exposure photography, and its version history states that captures of up to 30 seconds are supported.
What is the easiest way for a beginner to start?
Start with Live Photos. Photograph flowing water while keeping the phone stable, convert the shot to Long Exposure in Photos, and compare several attempts. Once you understand how motion affects the final image, experiment with dedicated apps.